Stage, Commit and Push Changes to Github Repositories in Atom without commands
Atom does not have a built-in terminal unless it's installed separately. This article shows how to work with Git on Atom without commands
Context: I recently switched to Atom Editor as I faced some problems with VS Code and did not have time to figure it out, then.
Install the Atom Editor from their official website.
Open it and work on your code that's already cloned from a remote repository.
Save your work with Ctrl+S or Save.
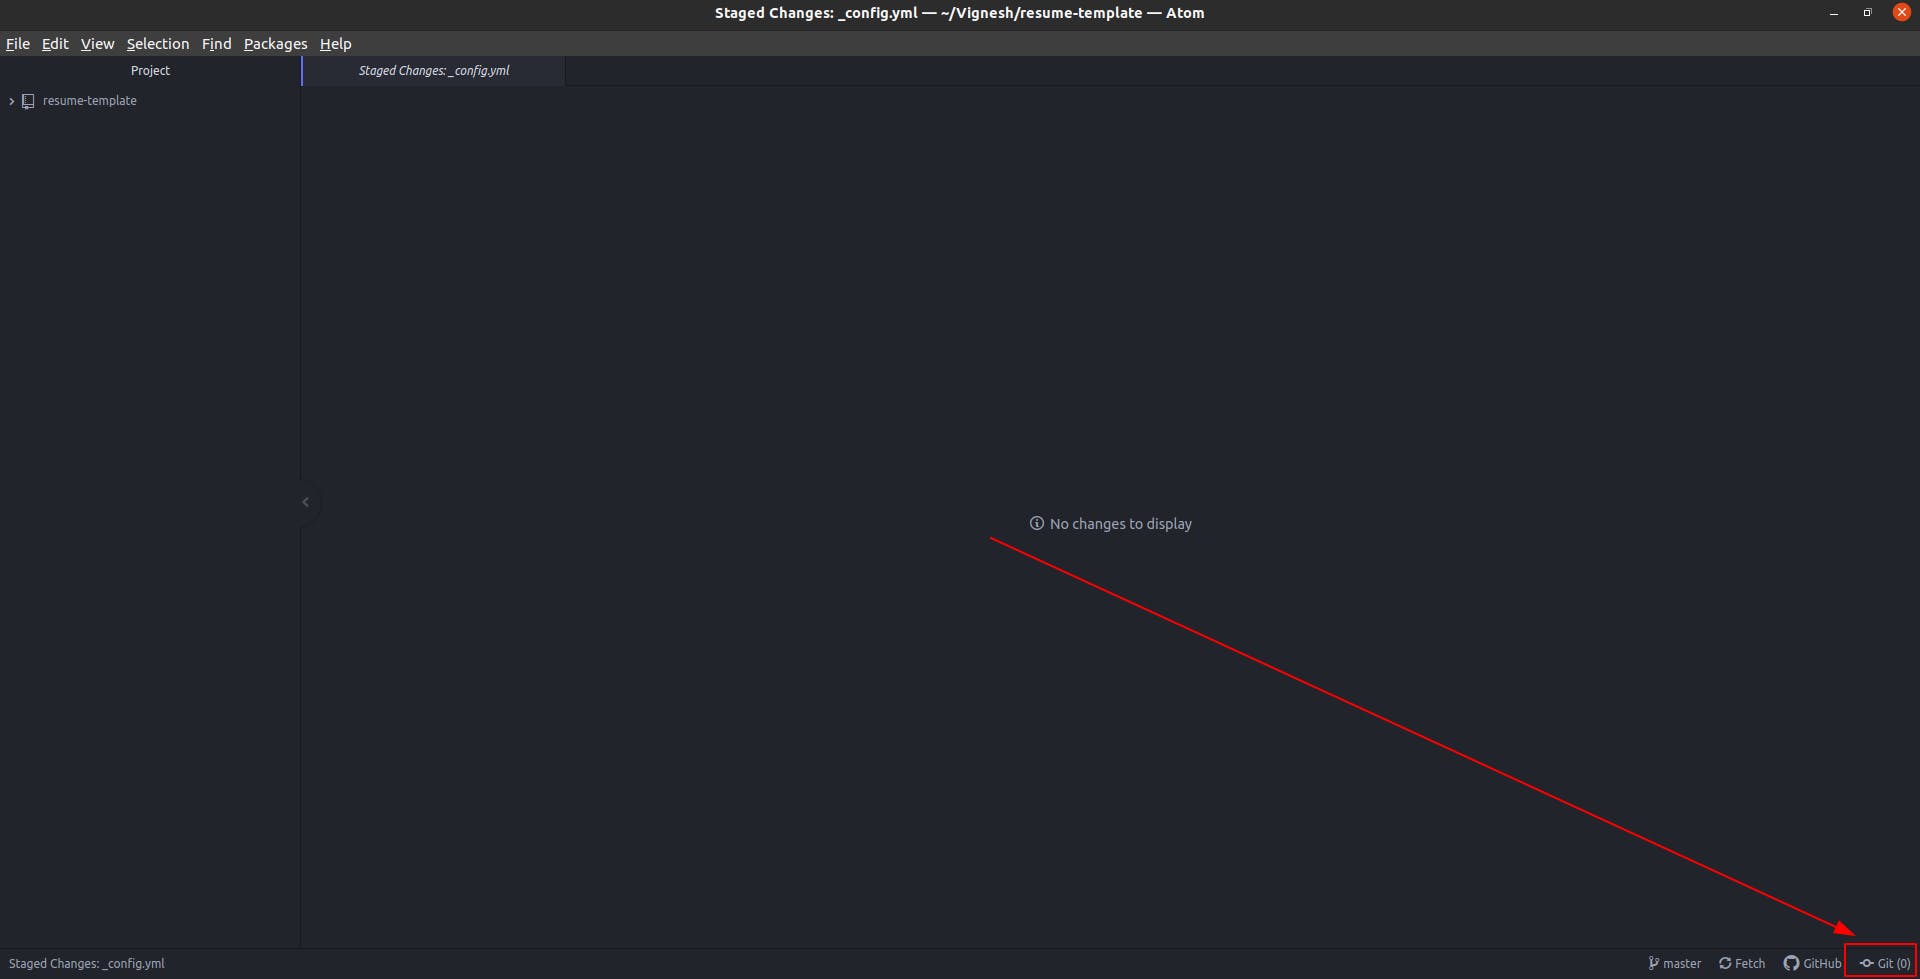
Click on Git which is on the bottom right side, as shown in the image.
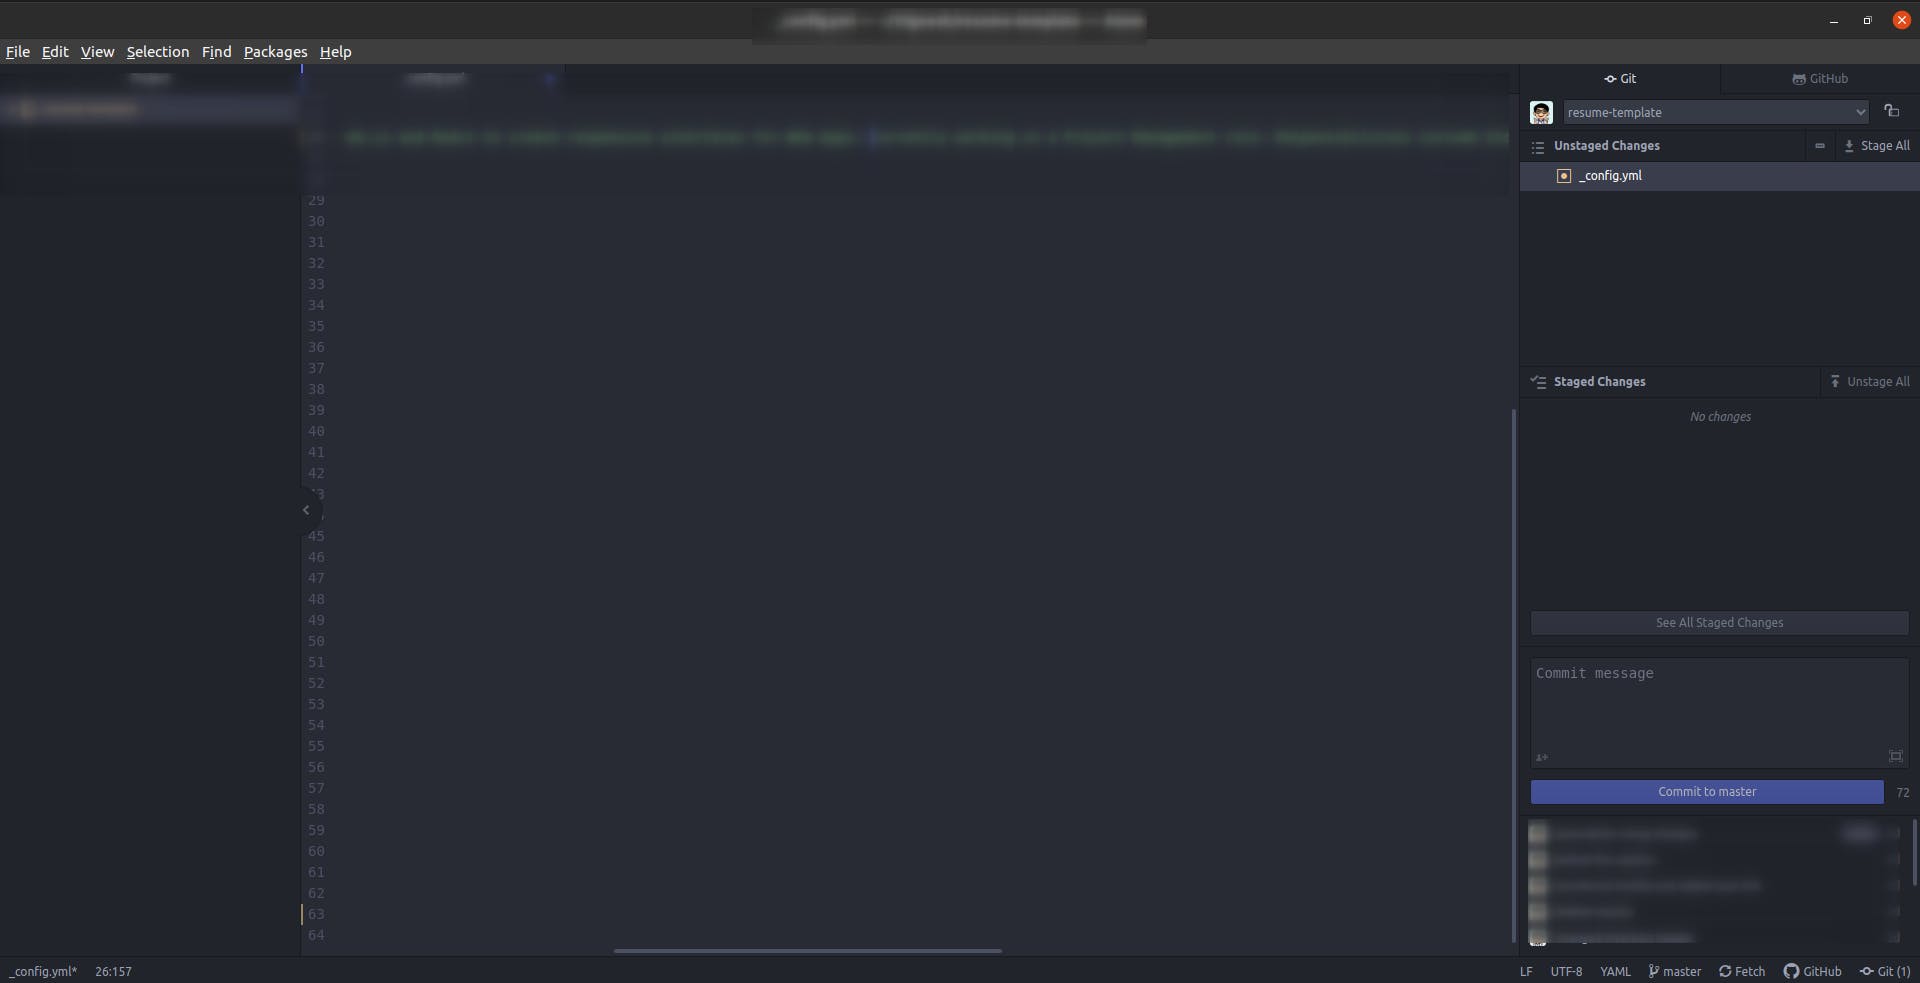
This is how your work will be seen, currently. It's unstaged. You can see this on the right side of this image.
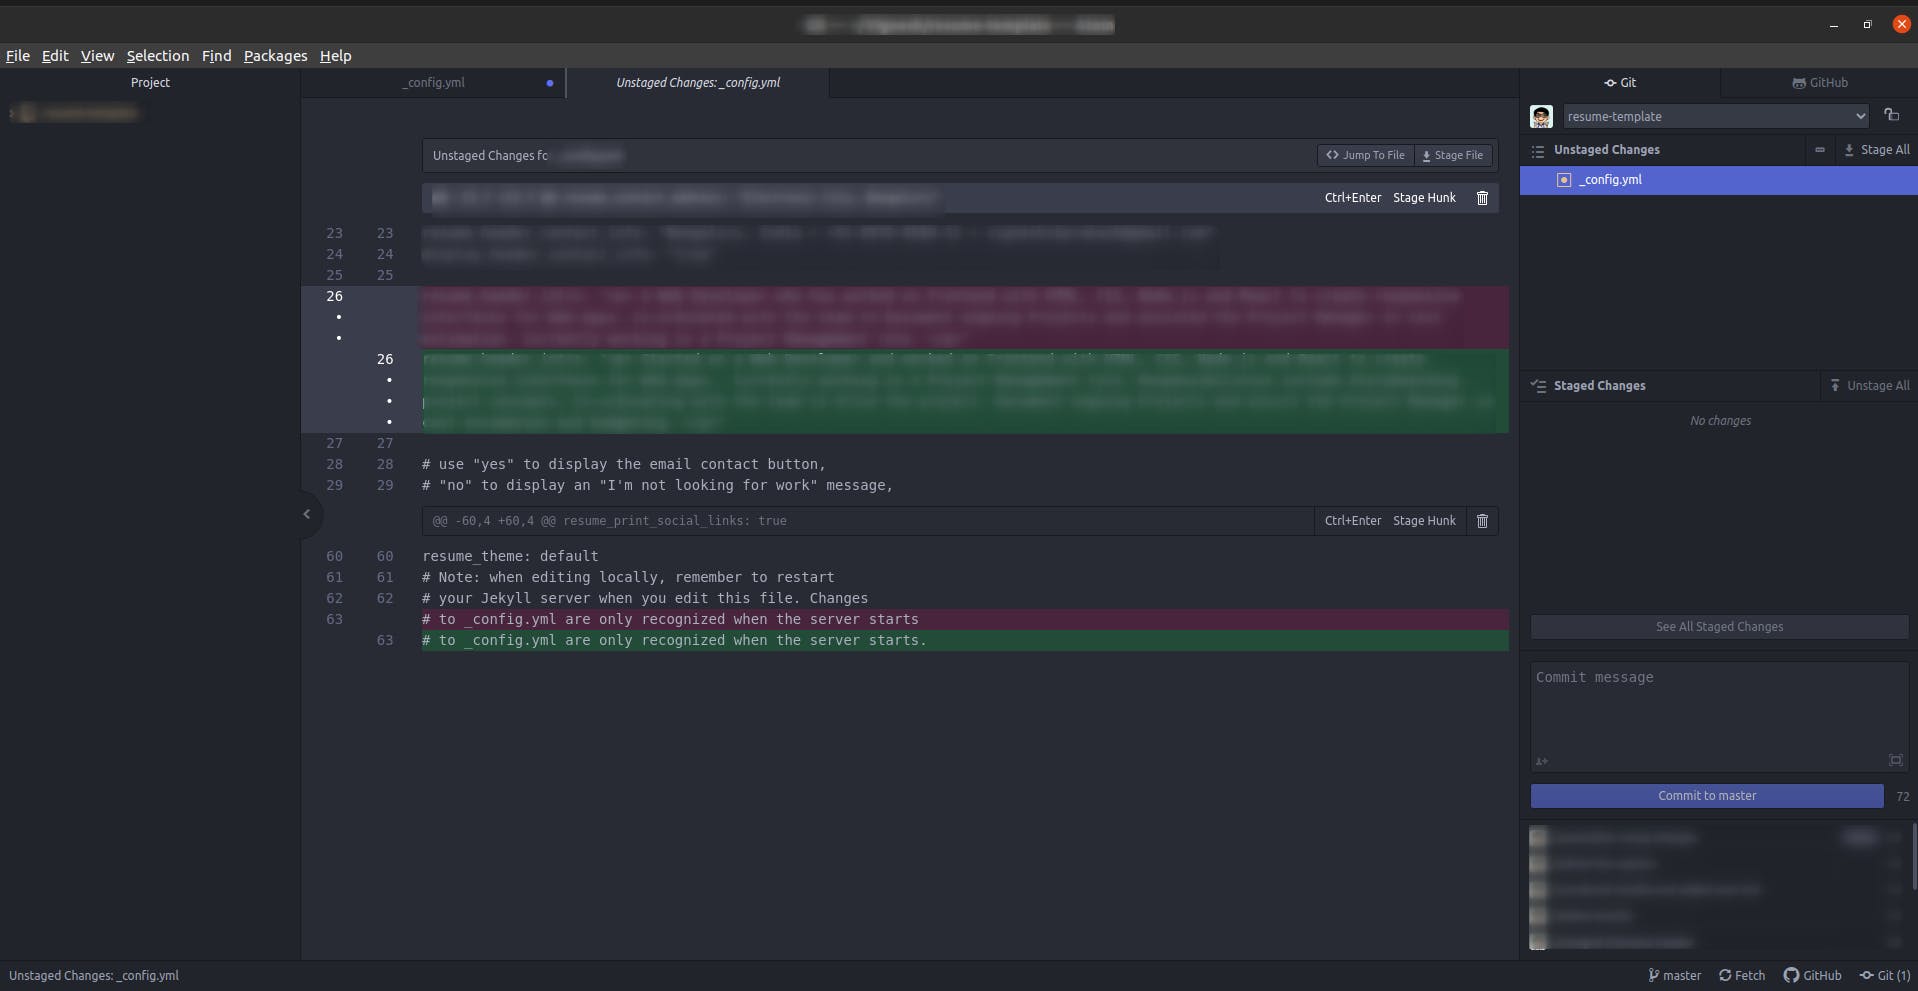
It will also show you the changes to the file that you have made. Click enter to stage it.
Now, the changes would move to the staged area, on the right side.
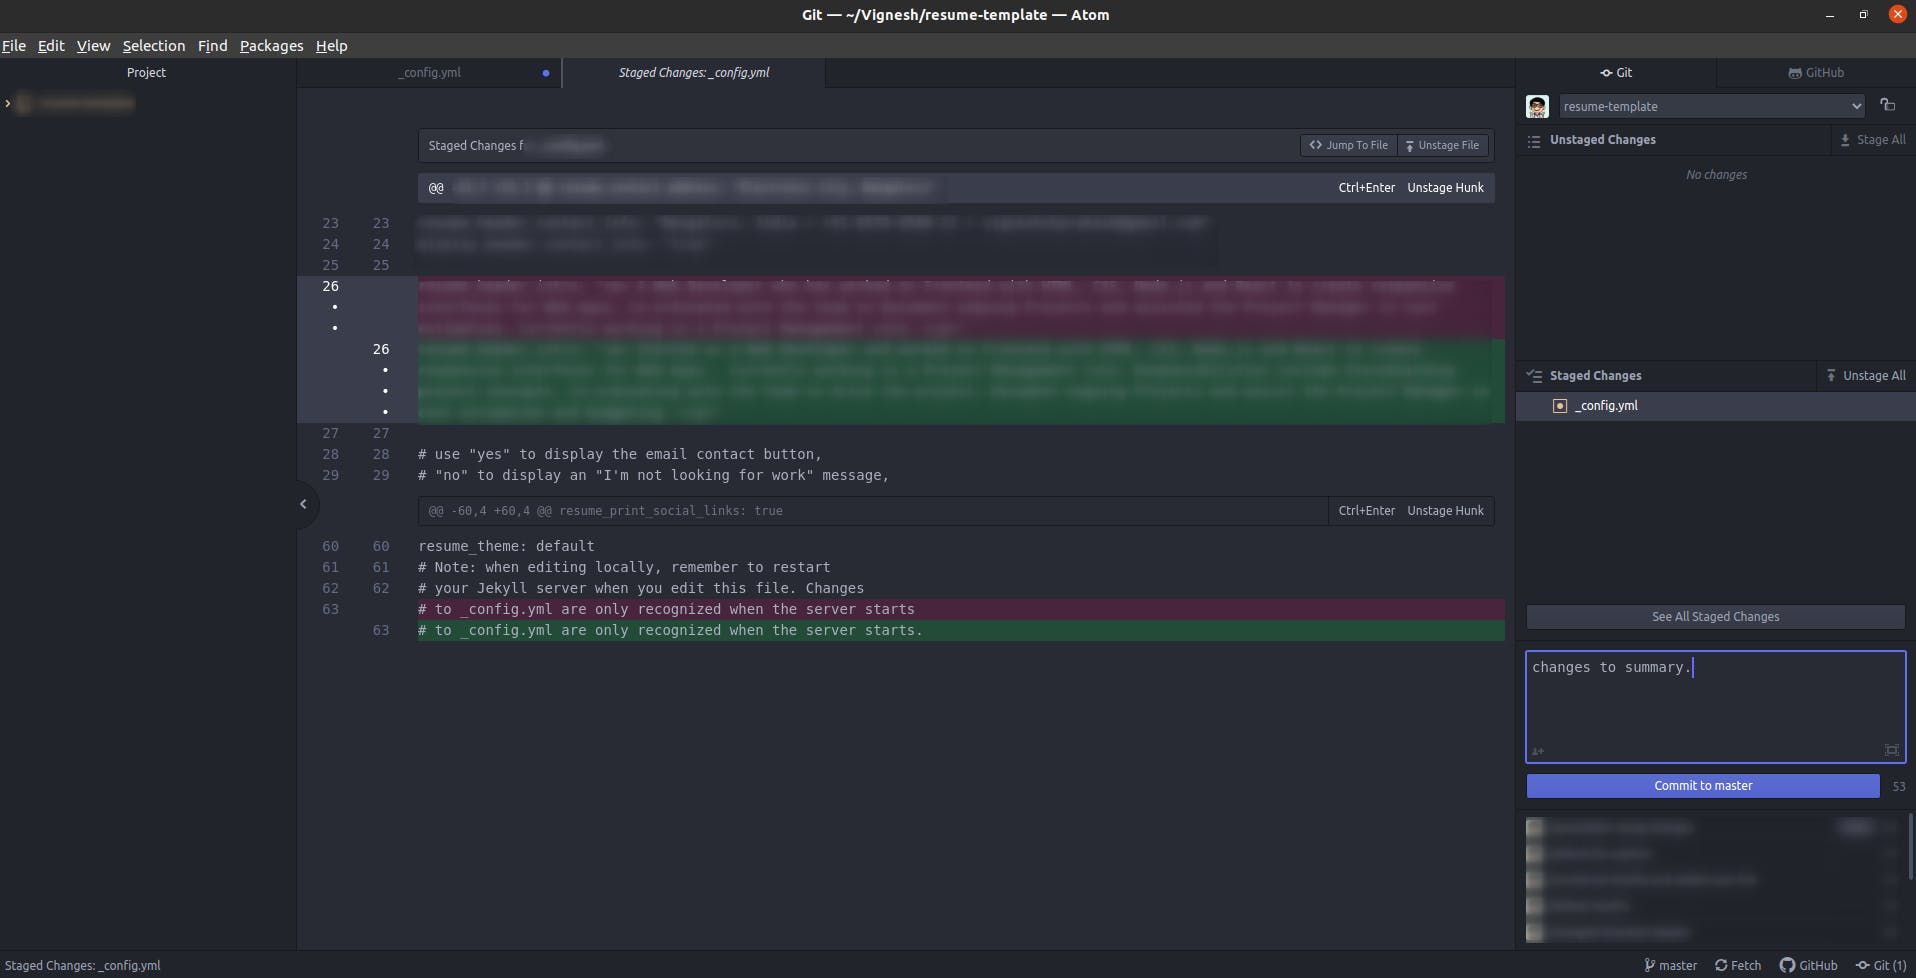
Enter your commit message before you commit by clicking on Commit to Master.
Now, your code would have got committed.
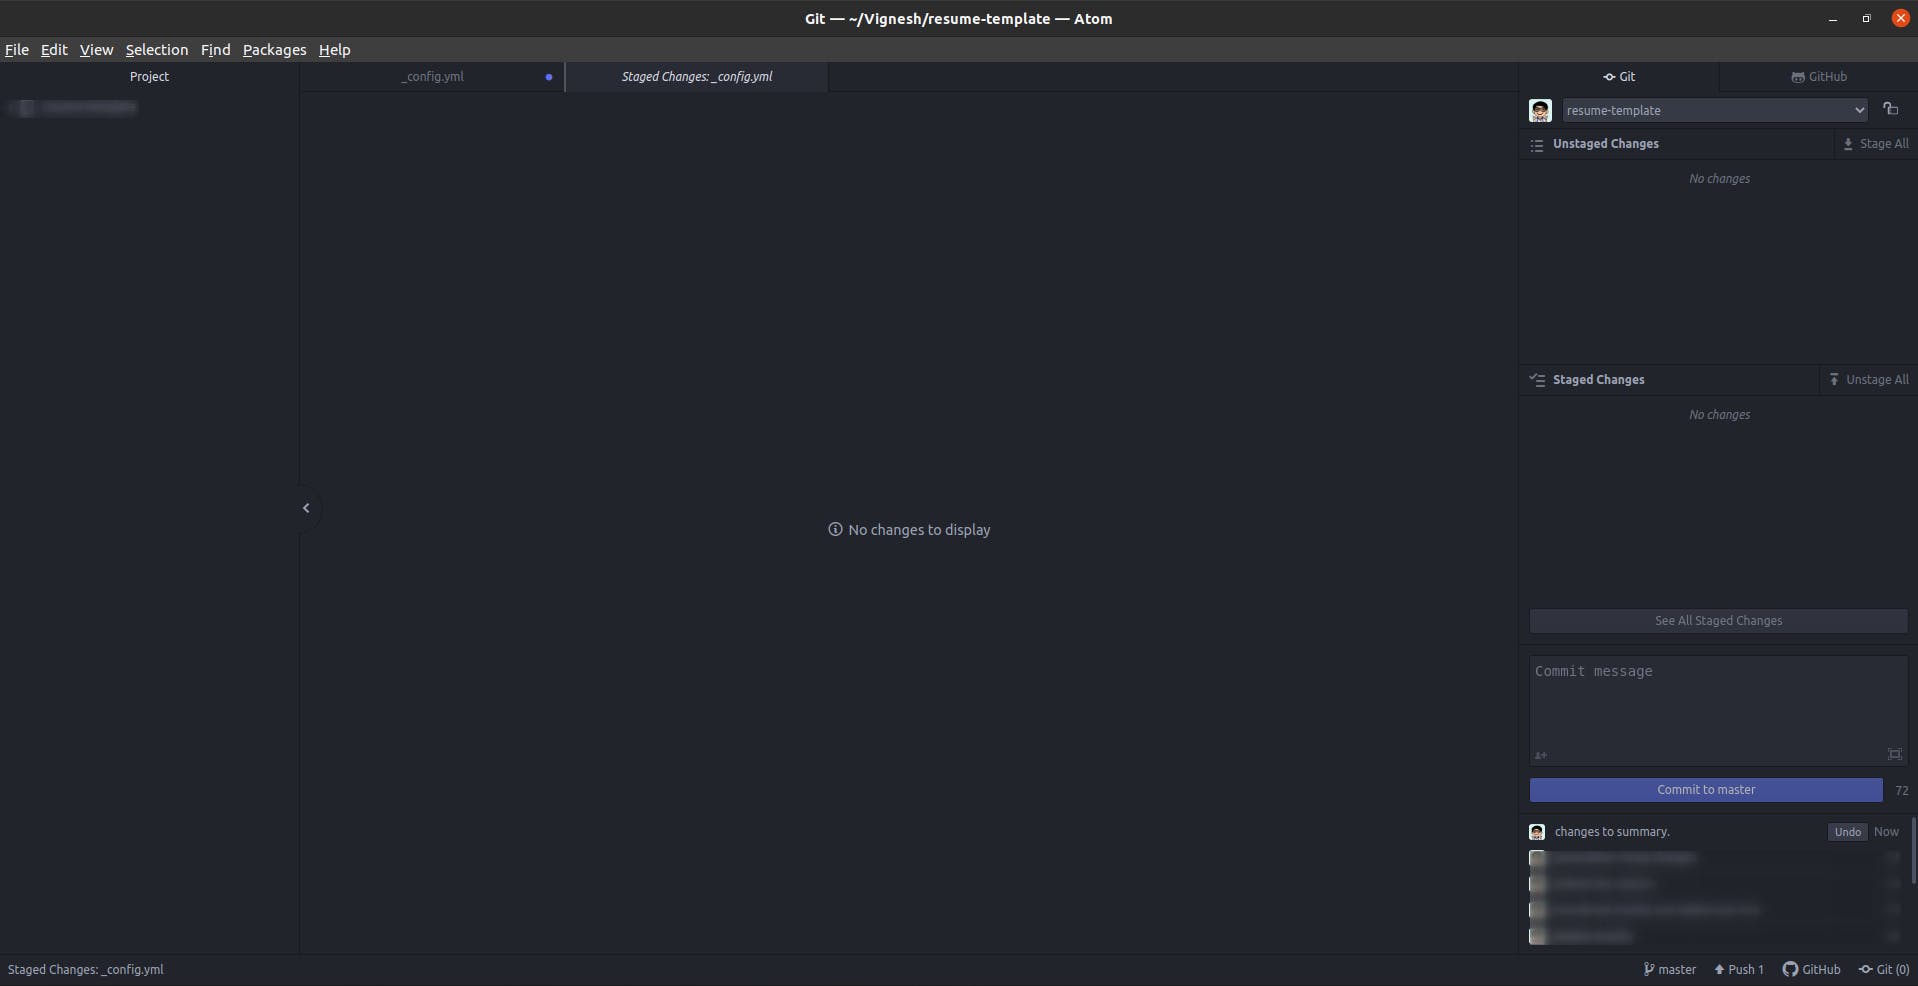
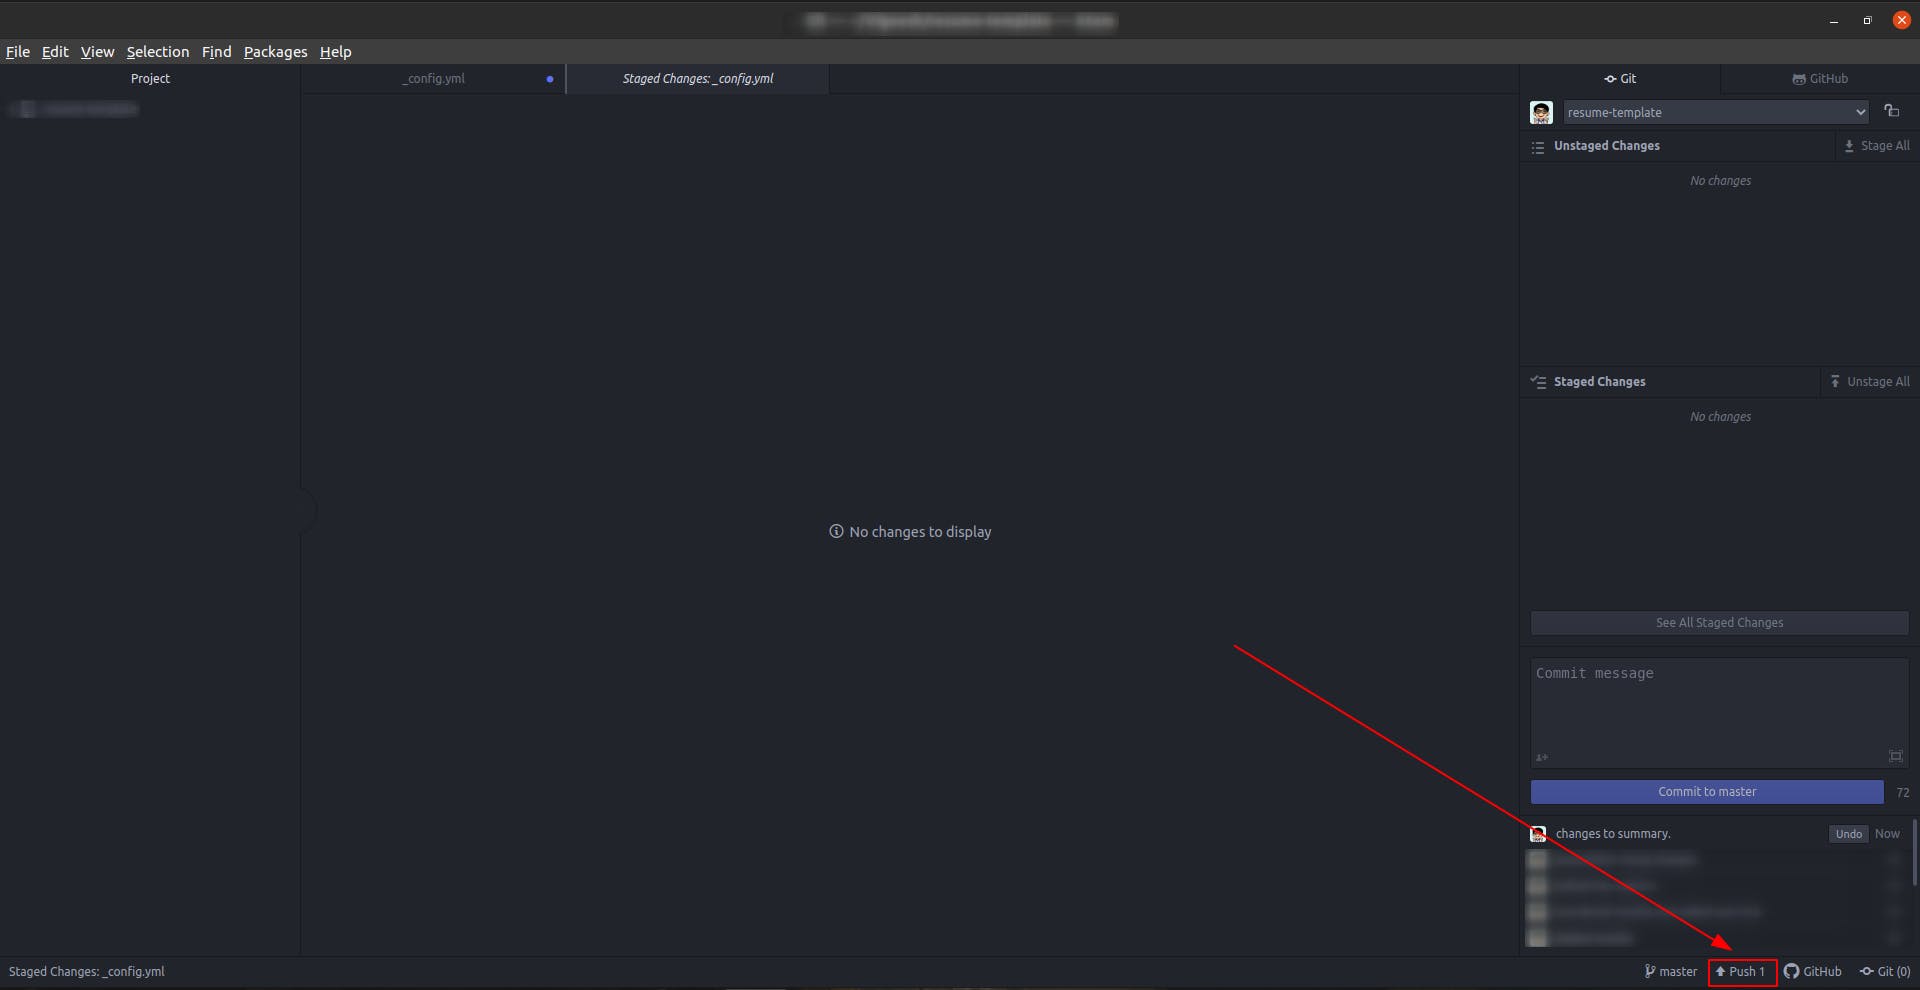
Click on this Push button to push the code to your remote repository.
Once it's pushed, you'll see Fetch instead of Pull.
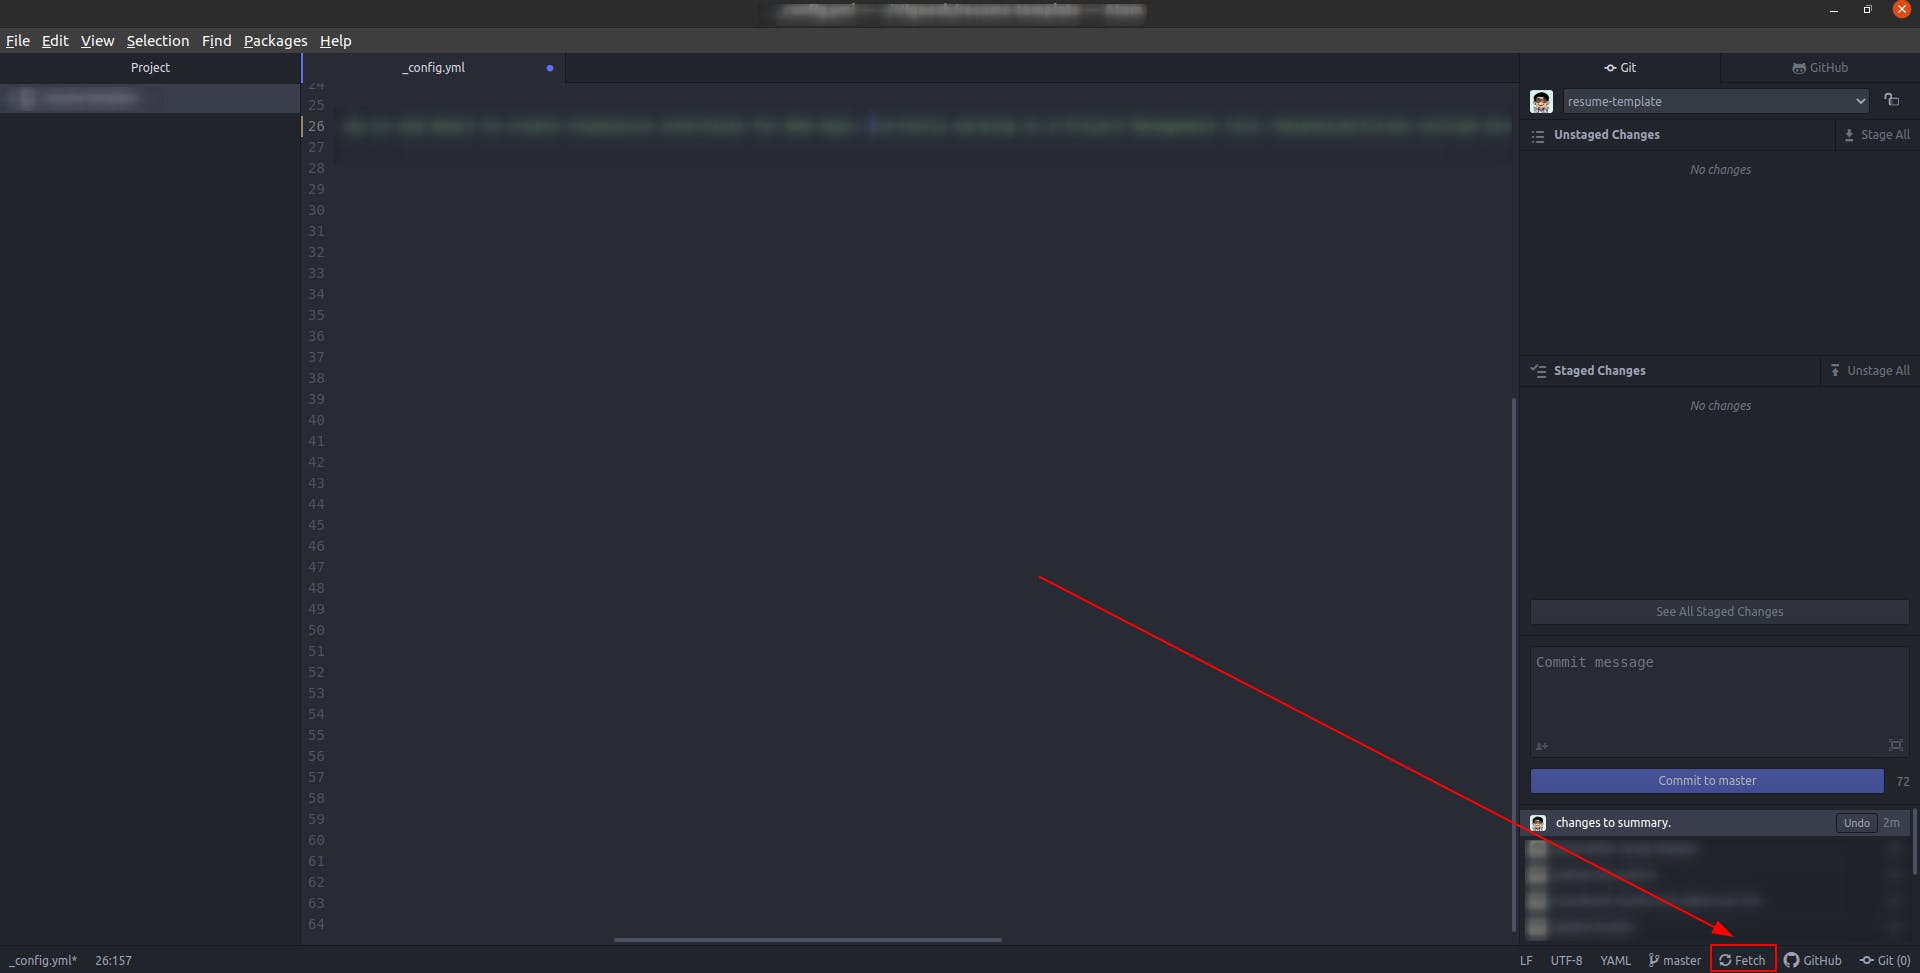
If you'd want to push the changes to a different branch, click on master as shown in this image.
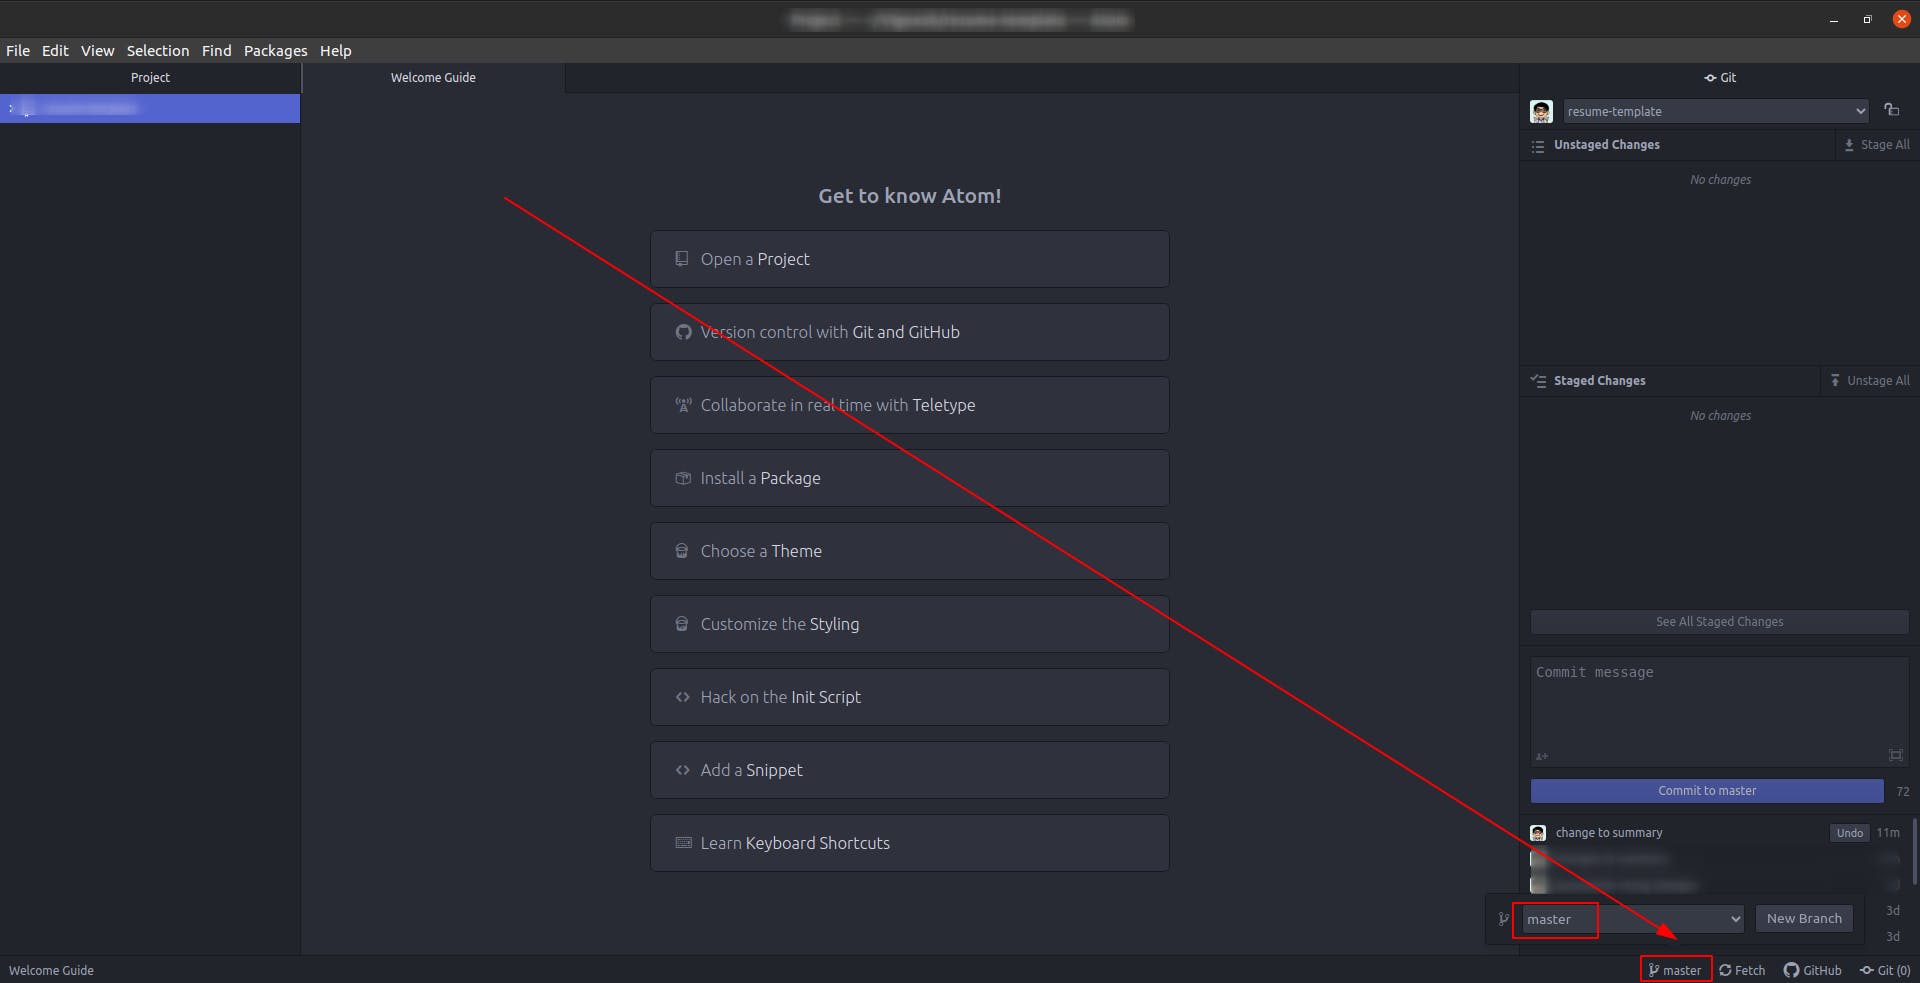
In case you don't have a branch named master, any other branch may show up there. You can change it from the drop-down menu shown above it.
