How to send an Email using Powershell ISE
Get started with automating Emails using Microsoft's PowerShell
PowerShell is a tool to carry out Automation Configuration Management. This can be used to automate sending of emails with just an authorisation and a click of few buttons. The task of scripting the email sending should be done on PowerShell ISE.
The cmdlet to send emails is Send-MailMessage.
The Send-MailMessage cmdlet uses the From parameter to specify the message’s sender. The To parameter specifies the message’s recipients. The Cc parameter sends a copy of the message to the specified recipient. The Bcc parameter sends a blind copy of the message. A blind copy is an email address that is hidden from the other recipients. The Subject parameter is the message because the optional Body parameter is not included.
The Credential parameter specifies a domain administrator’s credentials are used to send the message. The UseSsl parameter specifies that Secure Socket Layer (SSL) creates a secure connection.
Simple email
I will be using two of my email IDs to demonstrate this. The simplest program to send an email will be as follows:
Send-MailMessage -To “” -From “” -Subject “Your message subject” -Body “Plain text” -Credential (Get-Credential) -SmtpServer “” -Port 587
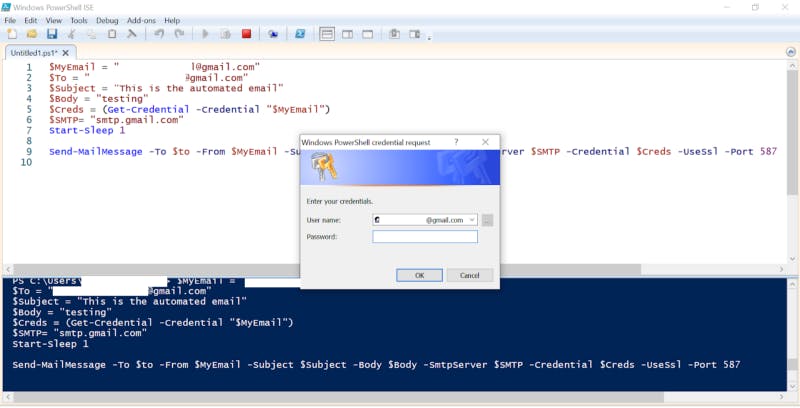
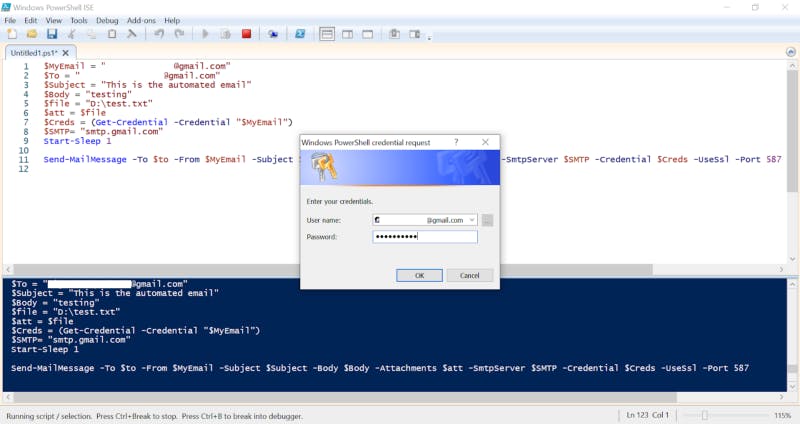
The fields can be substituted to add the sender’s and receiver’s email address, the subject and the body of the email. The SMTP credentials can be looked up on the internet. In case of Gmail, it’s smtp.google.com. Port 587 refers to the default submission port which is used when a client or an outgoing server is sending an email to be routed by the proper server. The -Credential (Get-Credential) cmdlet is used to open up a dialog box like this to prompt the authorisation.
Let’s first test the program to send a simple email to my email address
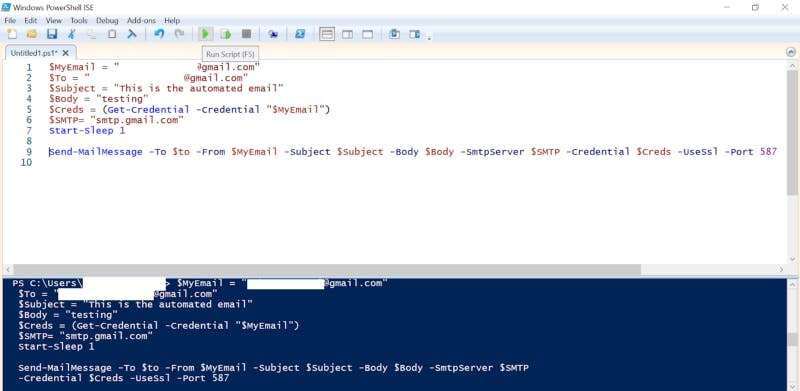
$MyEmail = “_______@gmail.com”
$Subject = “This is the automated email”
$Body = “testing”
$Creds = (Get-Credential -Credential “$MyEmail”)
Start-Sleep 1
Send-MailMessage -To $to -From $MyEmail -Subject $Subject -Body $Body -SmtpServer $SMTP -Credential $Creds -UseSsl -Port 587
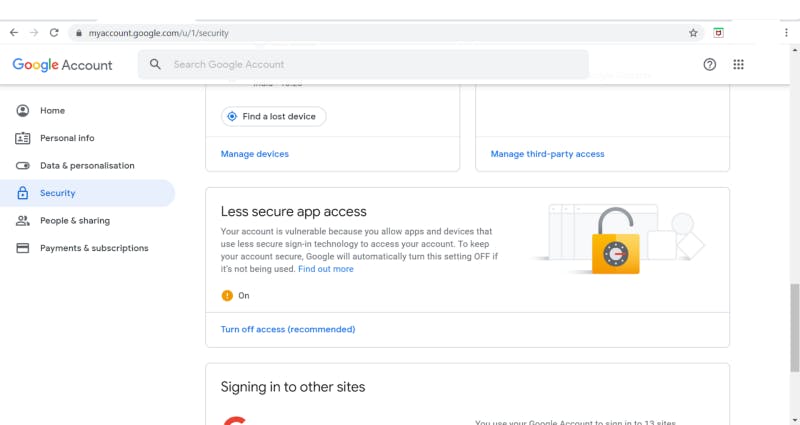
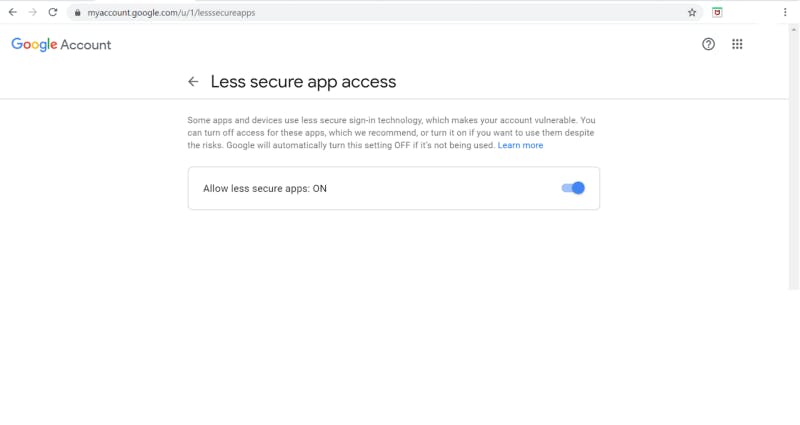
Before running this block of code, you have to go to the Gmail Account Settings of the Gmail Account, open securities settings and allow access to less secure apps as shown here.
Kindly click on the images, to see a more detailed view of the steps.
Once you run the program, the prompt to carry out the authorisation would be asked for. Type in the Gmail account password and proceed.
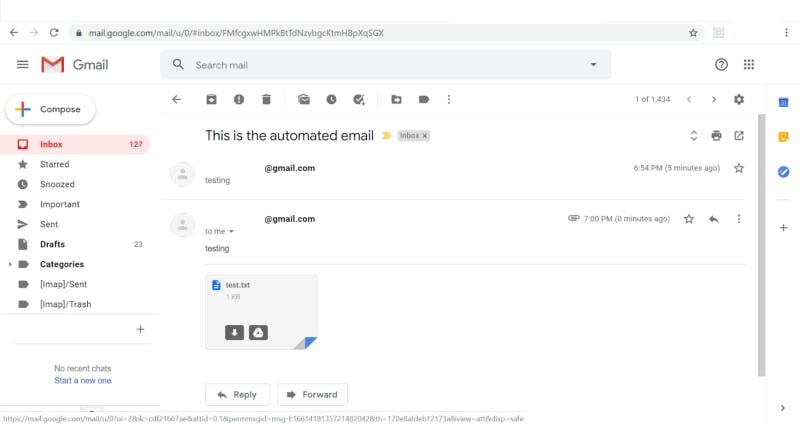
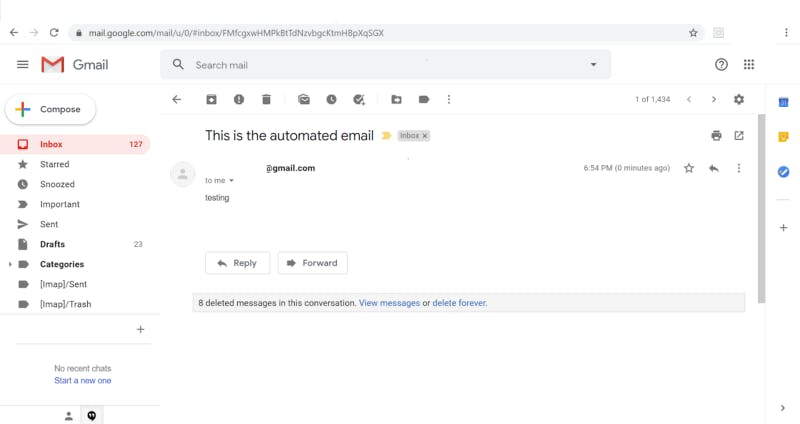
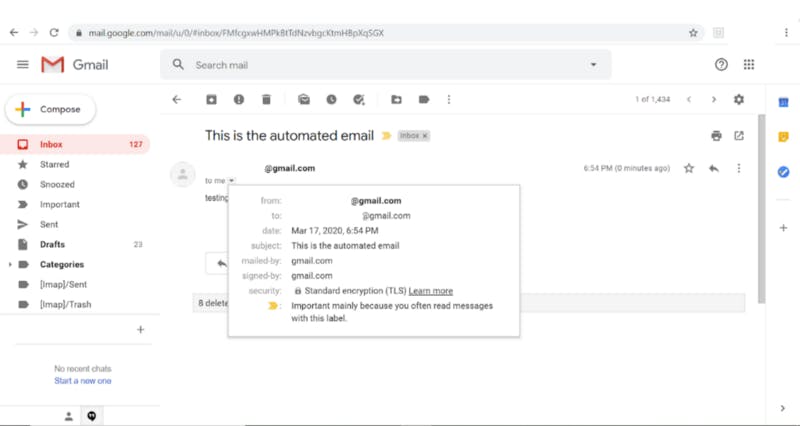
Go to the Gmail inbox now and see that the mail has arrived. The subject and body are as it was set to.
Send an email with Attachments
Now, we need to send an attachment. For this the cmdlet used is –Attachment. It attaches the file with the email and sends it to the receiver. Here, I will add the code for attaching the file which I have created just to test.
file = “D:\test.txt”
$att = $file
-Attachments $att
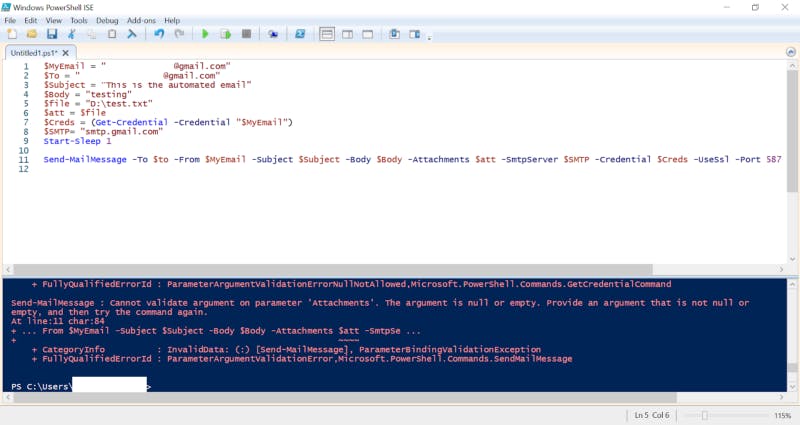
Now, the email has been sent to my inbox with the attachment I uploaded.
